Mealworms are a favorite food for many birds. We try to raise as many of our own mealworms as possible since they’re a bit pricey and the quality of store-bought mealworms isn’t always very good.
However, we’ve often had to resort to buying them when our supply ran out.
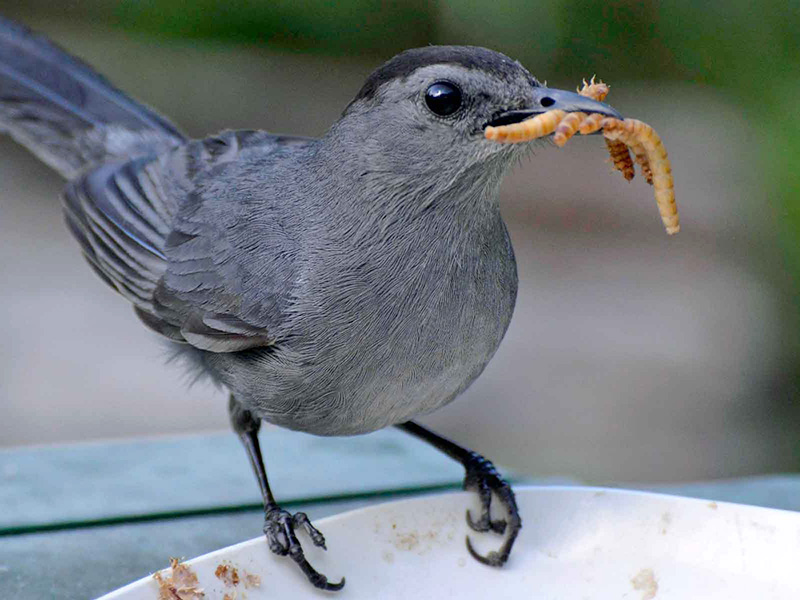
“Had to”? Yes, because we don’t want to disappoint our chickadees, catbirds, and cardinals! We very much enjoy watching them.
(Although our yard isn’t good bluebird habitat, if we did have bluebirds around, we’d gladly share them with bluebirds, too.)
If you were a chickadee, you’d be salivating right now (even though chickadees don’t salivate…).
NOTE: Unfortunately, except for one catbird who picked unenthusiastically at them, most of our birds rejected the convenient, much cheaper dried mealworms. Does anything really like those things?
UPDATE1: When our shipment of live mealworms was delayed, we again tried the dried mealworms. This time they were somewhat more popular and a variety of birds ate them. Some individual birds didn’t seem so enthusiastic, though. For example, while many of our chickadees ate them, there were a few individual chickadees that turned up their “nose” at them. And all of the birds seemed to relish the live variety the best!
UPDATE2: Tallamy’s new book, How Can I Help?, indicates that the dried mealworms really are just like dust inside and that they don’t offer much, so we’ll just keep them on hand for “emergency” use. ALSO, though, he noted that mealworms are not nearly as nutritious as good ol’ caterpillars! Unfortunately, at least in our community, people have been cutting down so many mature native trees that I’m wondering if there will ever be enough caterpillars available, so I guess we’ll keep offering live mealworms to take up the slack as well as spreading the word about the importance of native trees and other native plants.
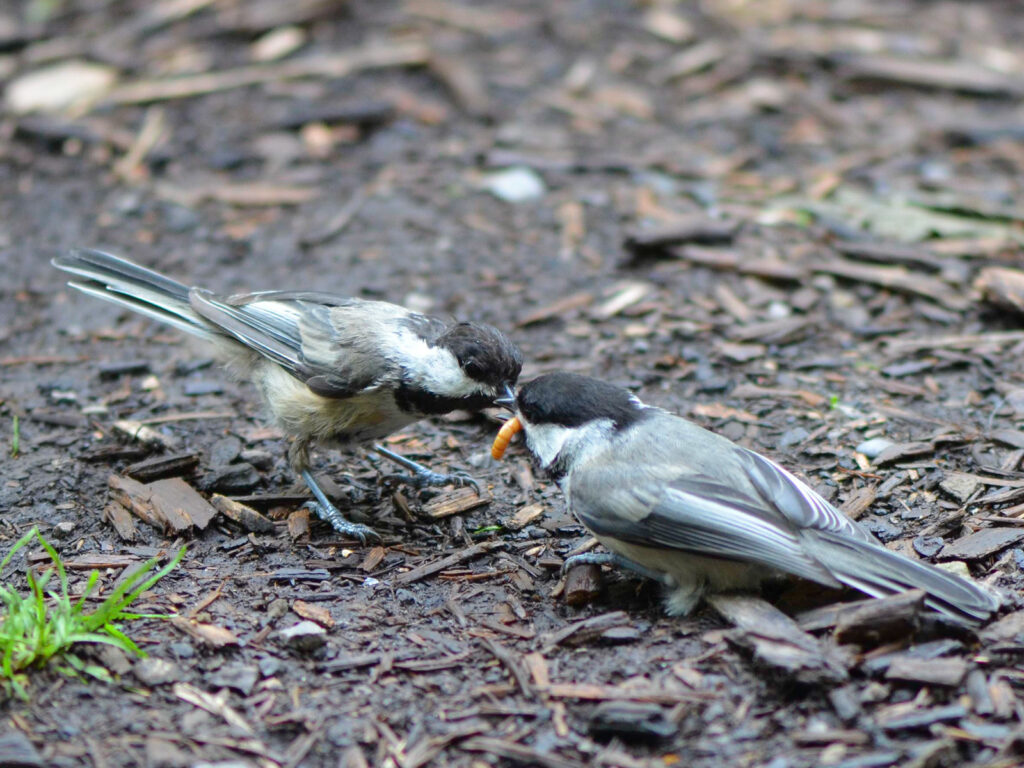
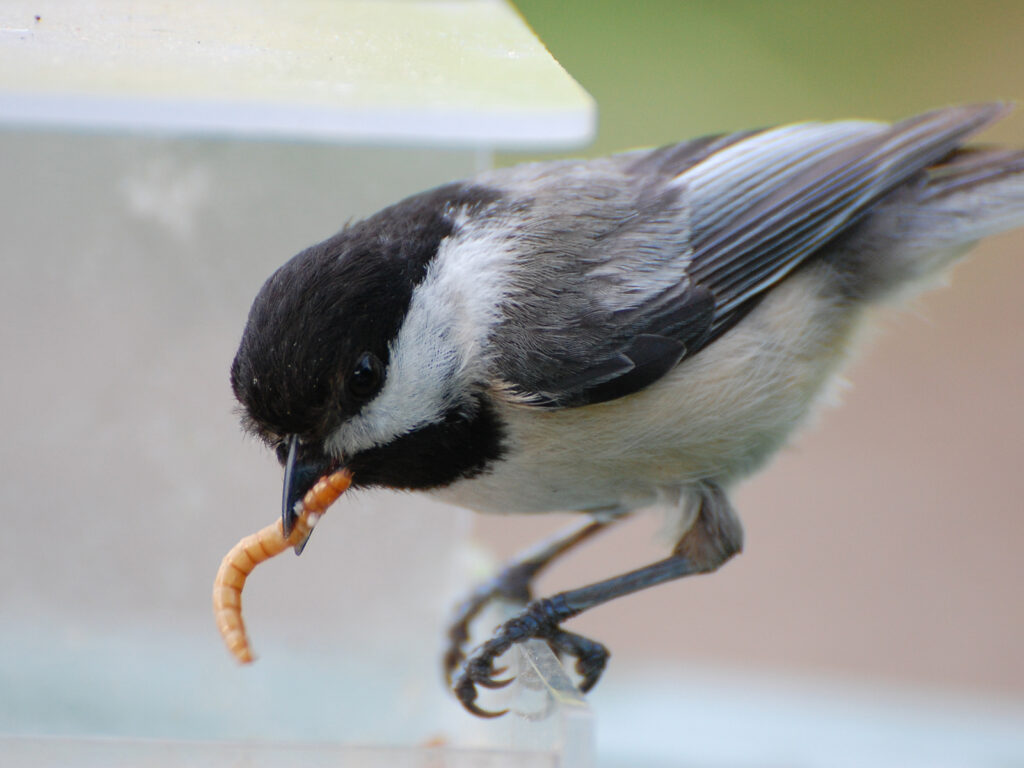
At times, we have had enough mealworms that I can frequently feed them to the birds as a very desirable, nutritious, and free source of food. There’s never as many as they’d be able to eat, though. We’re always amazed at how many mealworms a little chickadee can fit into what must be a very tiny stomach.
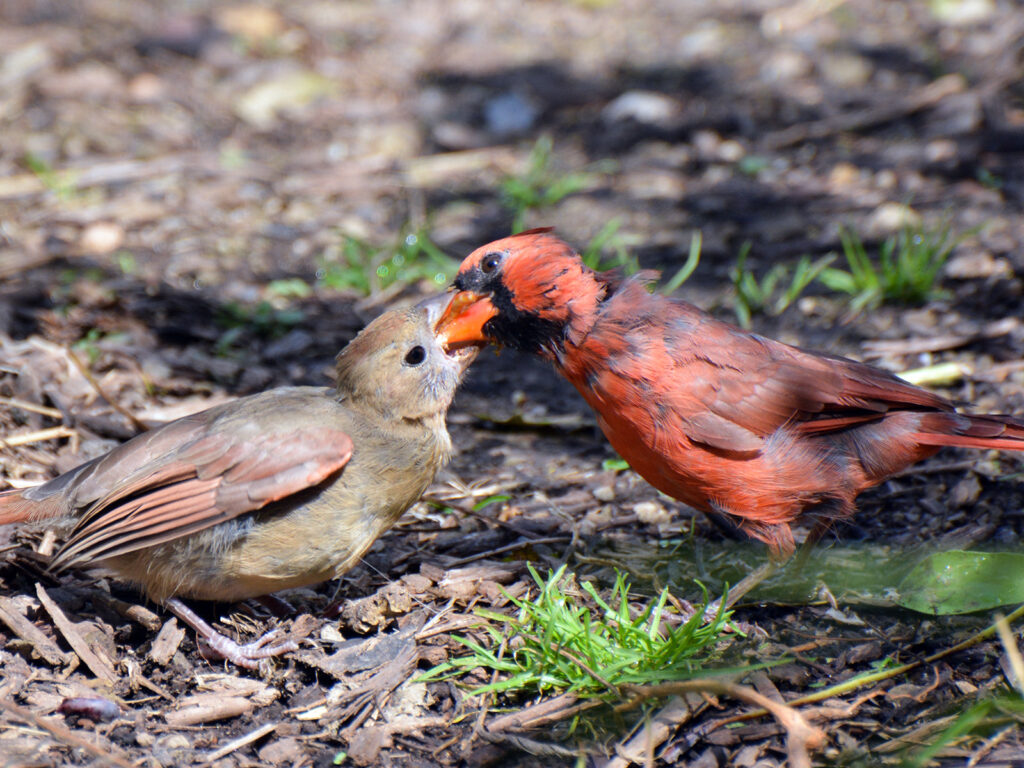
One challenge is that we want to reserve the mealworms only for our favorite native birds such as chickadees, cardinals, catbirds, and titmice.
What we do NOT want to do is feed these expensive (in dollars or effort) mealworms to our nemesis: house sparrows or starlings.
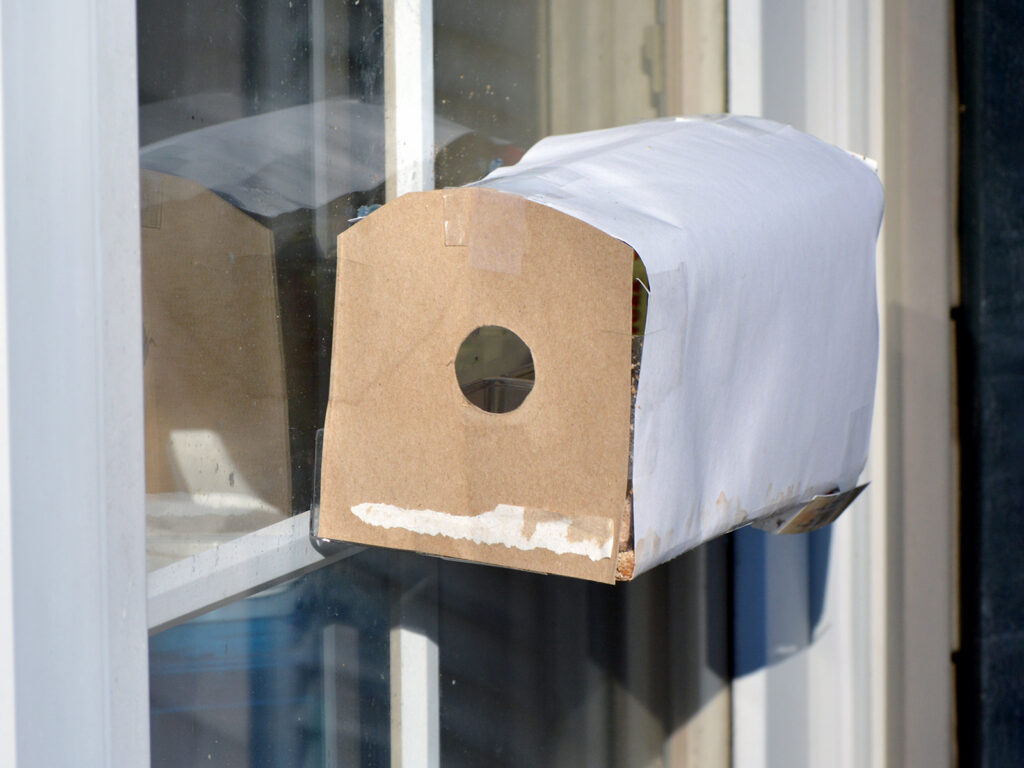
At times, we’ve managed to escape their notice by putting them in a small feeder attached to the window. At other times, it’s a constant battle, and the feeder must be closely monitored — not really the way I want to spend my time. I comfort myself knowing that most people spend much more time, money, and effort on household pets, which we don’t have.
When the blue jay started visiting the mealworm feeder and gulping them down, we had to think of a deterrent. This is what we came up with — covering the open space with cardboard and cutting a chickadee-size hole.
The chickadee after some initial hesitation learned to find the side entrance hole.
Mealworms
The “worms” (really just a larval stage of a beetle) metamorphose into beetles, and then they lay eggs and become larvae (worms). We start with mealworms and after many months, end up with mealworms — BUT, with any luck, many more mealworms.
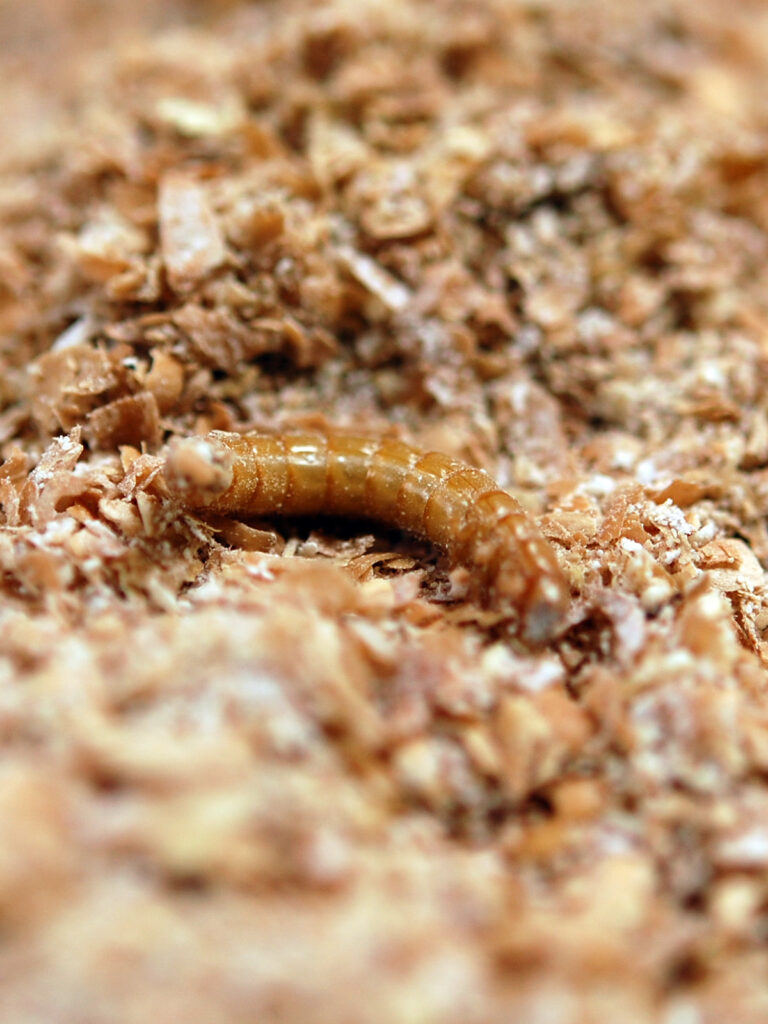
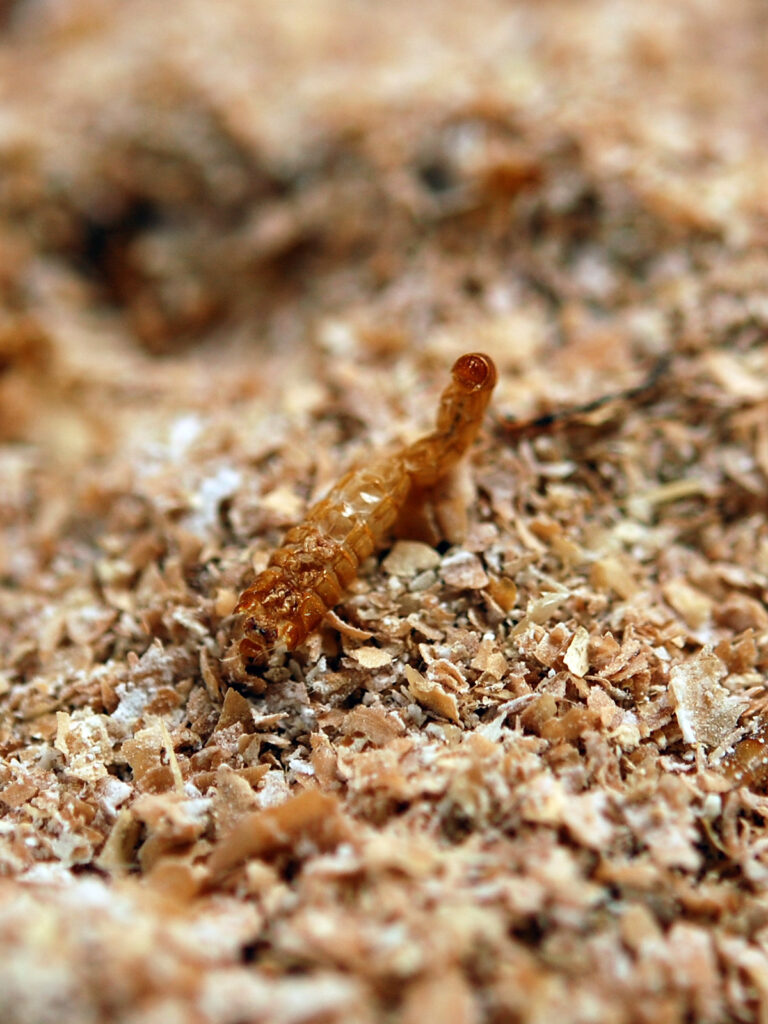
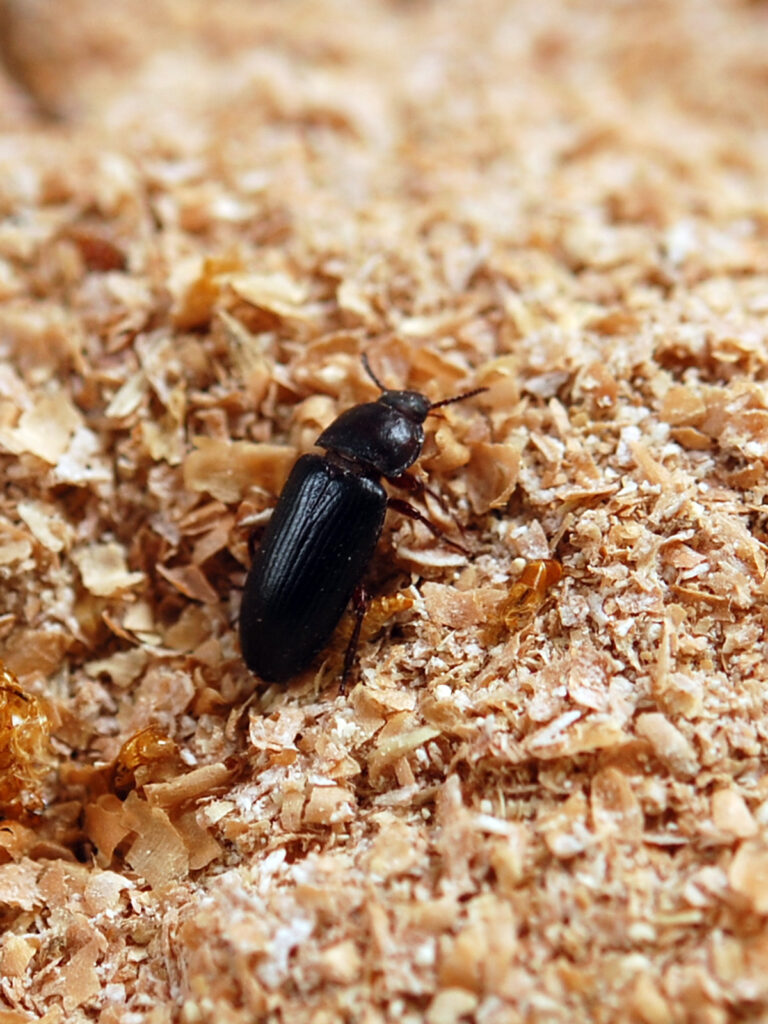
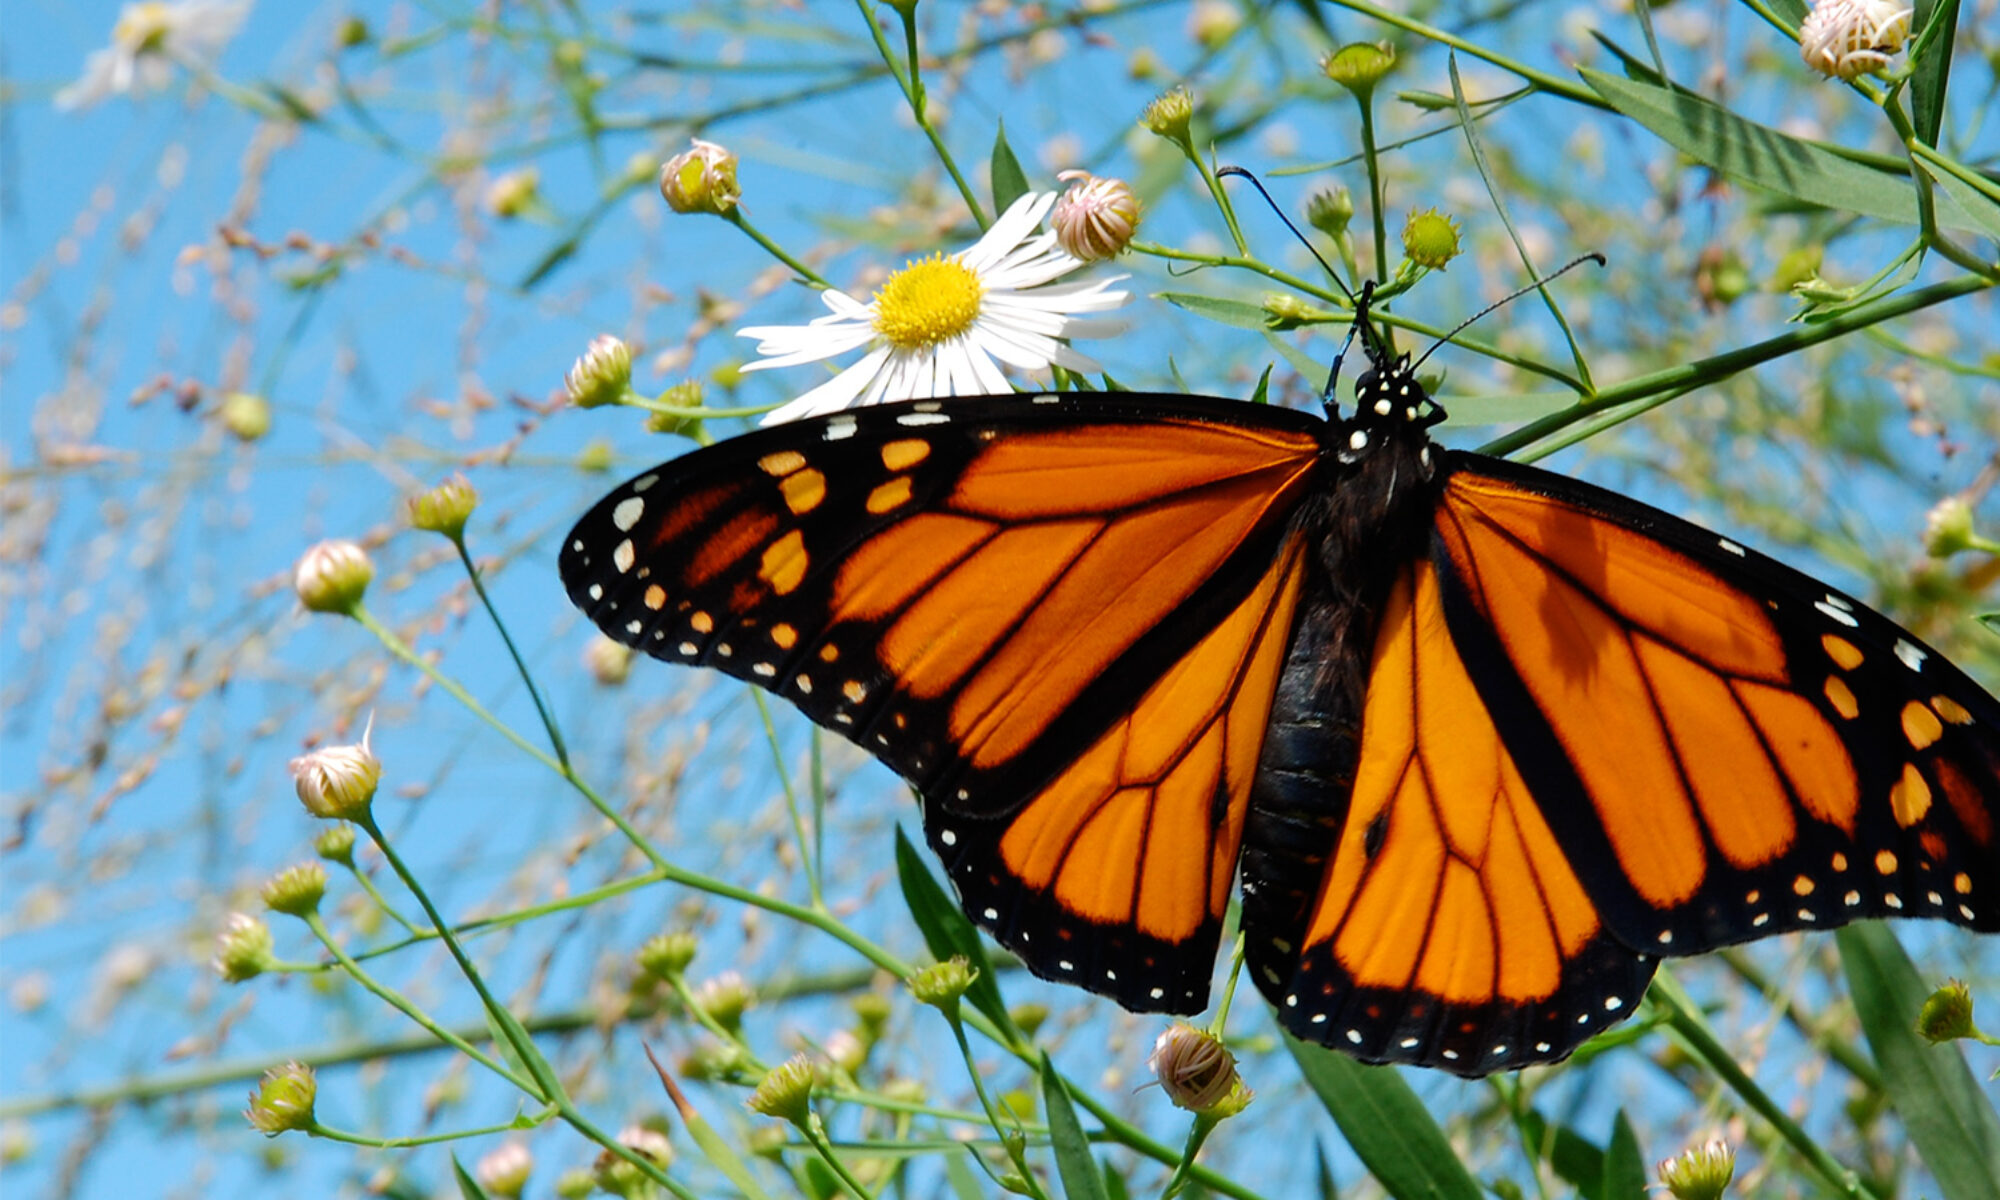
Mealworms molt and shed their skin. Somehow, it seems a bit more charming when a butterfly caterpillar molts. Maybe not thinking of the mealworms as “cute” makes it easier to serve them up as bird chow. The beetle is the adult stage of the mealworm.
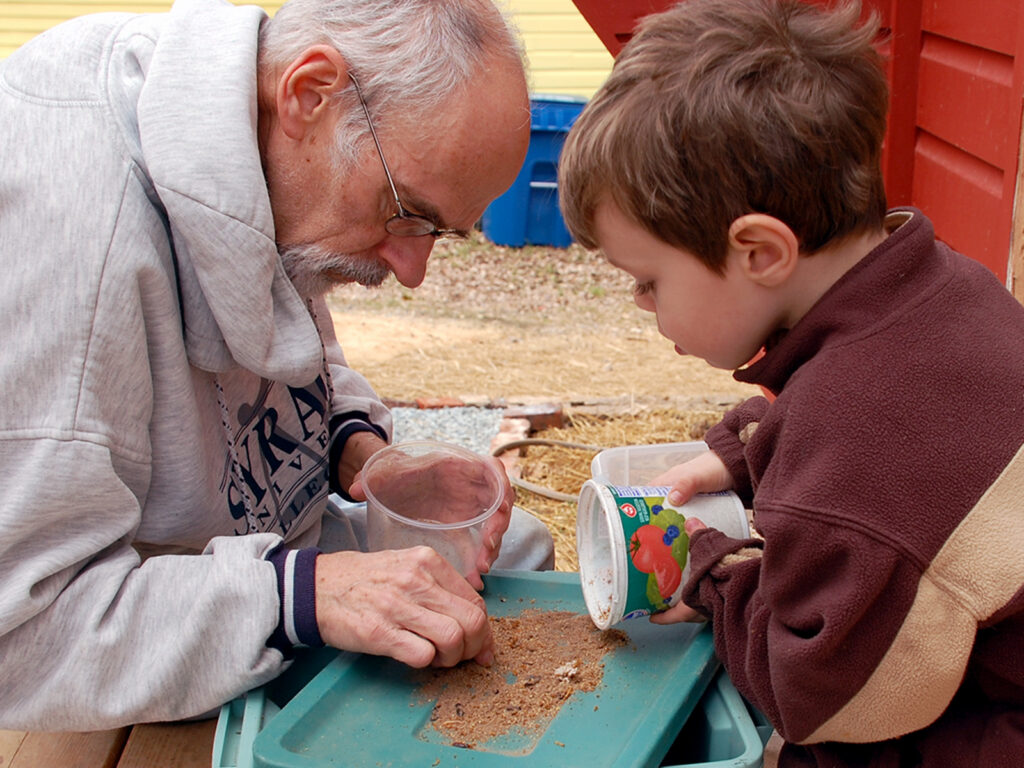
How we raise them
2022 UPDATE: For the last two years, we haven’t been able to successfully raise mealworms, but we don’t know why. We’ve resorted to buying 10,000 (that’s not a typo!) at a time from Buckeye Organics. Yes, it’s pricey but since we don’t eat at restaurants or go to the movies (getting DVDs from the library instead) we don’t spend much on entertainment.
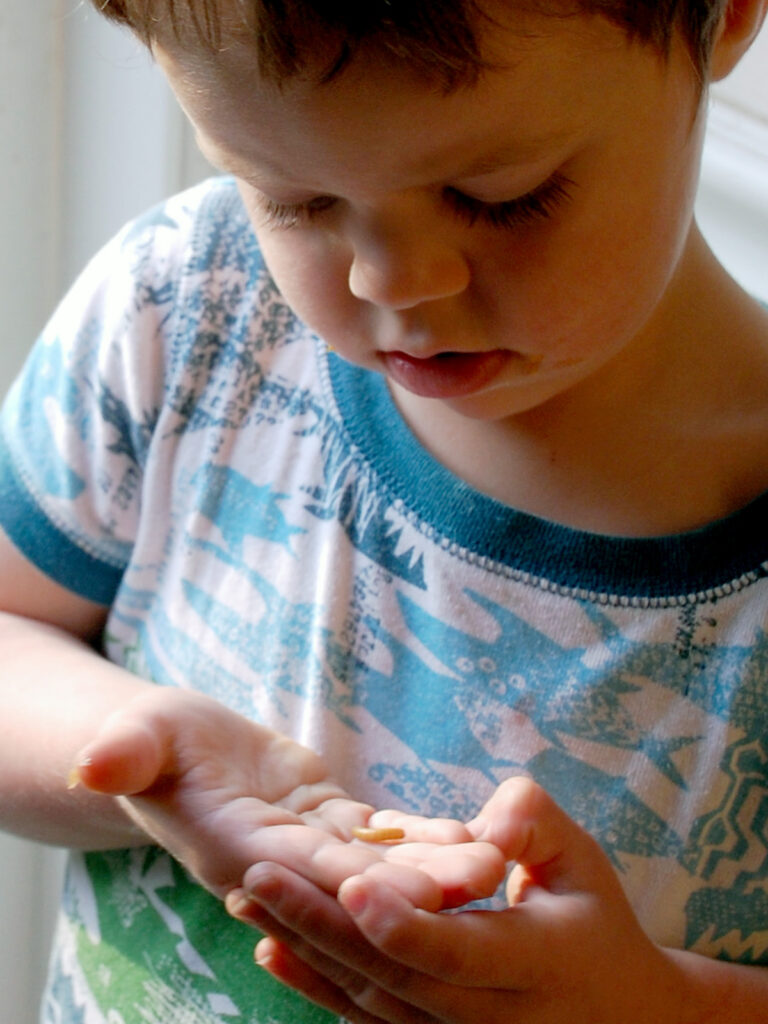
After some initial squeamishness, we have no trouble handling either the worms or the beetles. They’re perfectly clean, non-slimy, disease-free, and don’t bite. (In fact, schools often raise them as a safe way to illustrate metamorphosis.)
At first, we purchased a couple of hundred mealworms from a pet store. We soon learned that chickadees have an unlimited appetite for them, but we have a limited mealworm budget. (We also learned that the containers rarely contained the number of mealworms advertised on the outside.)
We decided to raise them ourselves. We learned is that it takes time to get started.
We put 100 to 200 of them in an old dishpan with an inch or two of wheat bran. We put some carrot slices on top and covered it with a piece or couple of pieces of old cloth such as part of an old T-shirt. Every day or two the carrot slices need to be replaced. As time passes the mealworms will turn into pupae and then adults. The adults will, after several weeks, begin to produce eggs that hatch into tiny mealworms. How do you know when this happens? Starting about a month after the first adults emerge, begin spreading a small amount of the wheat bran from the pan over a blank half sheet of paper. If you watch for 20 or 30 seconds you may begin to see a few tiny mealworms moving about, or, when you let the wheat bran slowly slide back into the pan you may see tiny mealworms on the paper.
Then it is time to separate the adults from the wheat bran. This can be done by picking up each adult and transferring it to a new pan containing wheat bran. If you find dead adults or dried up carrot slices, they can be removed and discarded. You will end up with one tray of tiny mealworms and one tray of adults. Make sure the cloth that was covering the adults goes into the tiny mealworm tray because there may be eggs and tiny mealworms on that cloth. The tiny mealworms won’t need carrot slices for a while, although you can put them in the pan anyway. In another month you can check to see whether the adult pan is ready to be separated again.
As the mealworms grow, they will eat some of the wheat bran and produce frass (poop). You need to occasionally add more wheat bran but you can’t do much about the frass until you have mealworms big enough to harvest. Then you can put the contents of the pan through a screen – such as a piece of window screening formed roughly into a bowl – and shake the frass, which is tiny, into a container under the screen, putting the mealworms and remaining wheat bran back into the pan with some more wheat bran.
Eventually, you will harvest most of the mealworms out of the pan. In the meantime, new adults will have been produced which can be used to start another “breeding” tray.
Don’t worry, the mealworms aren’t able to climb up the sides of the dishpan, and the adult beetles don’t fly. We have, on occasion, put cheesecloth over the top to prevent powdery gray pantry moths from getting out (if they’re in the bran). Generally this hasn’t been a problem though.
We usually keep the mealworms in the basement and it does not seem to be too cold for them.
Saving the extras
Generally we don’t have extras — it’s difficult enough to just keep up with the demand. But sometimes conditions are just right (we haven’t yet figured out the magic combination, though) and we have a mealworm boom that we want to preserve for leaner times.
To save your “crop” of mealworms, you can store them in a cool place. And what’s the most convenient cool place? The refrigerator! Your freezer would be too cold. Being in a cool place slows their metabolism and thus their transformation into beetles. We make sure we label the container well so no one looking for a snack freaks out! While mealworms will survive in the refrigerator up to a couple of months, it is best, if you have a lot, to dump them into a pan one a week, give them some carrot slices, and let them enjoy “freedom” for a day or so before they go back into the refrigerator.
Seeing these containers of worms in my refrigerator (along with packets of seeds being cold-treated for later planting) are perhaps the most dramatic reminders of how our lives have changed since we became enthusiastic about habitat gardening!
Not just for birds
When we were first researching mealworms, we were surprised to find that most web references seemed to be about PEOPLE eating mealworms! Evidently, like many insects, they’re very nutritious.
Fortunately, as vegetarians we haven’t felt compelled to check this out … But insects are an important source of nutrition around the world — and probably more nutritious (and when you think about it, much less gross) than what most Americans eat: dead mammals, dead birds, and dead fish!
Resources
- Sialis (a bluebird group)
- Raising mealworms: Everything you always wanted to know (and more) is just what it says. Excellent resource!
- Cornell Lab of Ornithology: